


WINTER BREAK COUNTDOWN: 12 Easy Steps to Making Your Own DIY Ugly Holiday Sweater
In the spirit of there being only 12 school days until winter break, H-Vision correspondents Valerija and Jessica went head to head to bring you 12 simple steps to creating your own DIY holiday sweater. Editor-In-Chief Jake Fittipaldi judged our shirts and the winner will be listed at the end of this article! Tag us in your DIY sweaters @hhsfordian on Instagram!
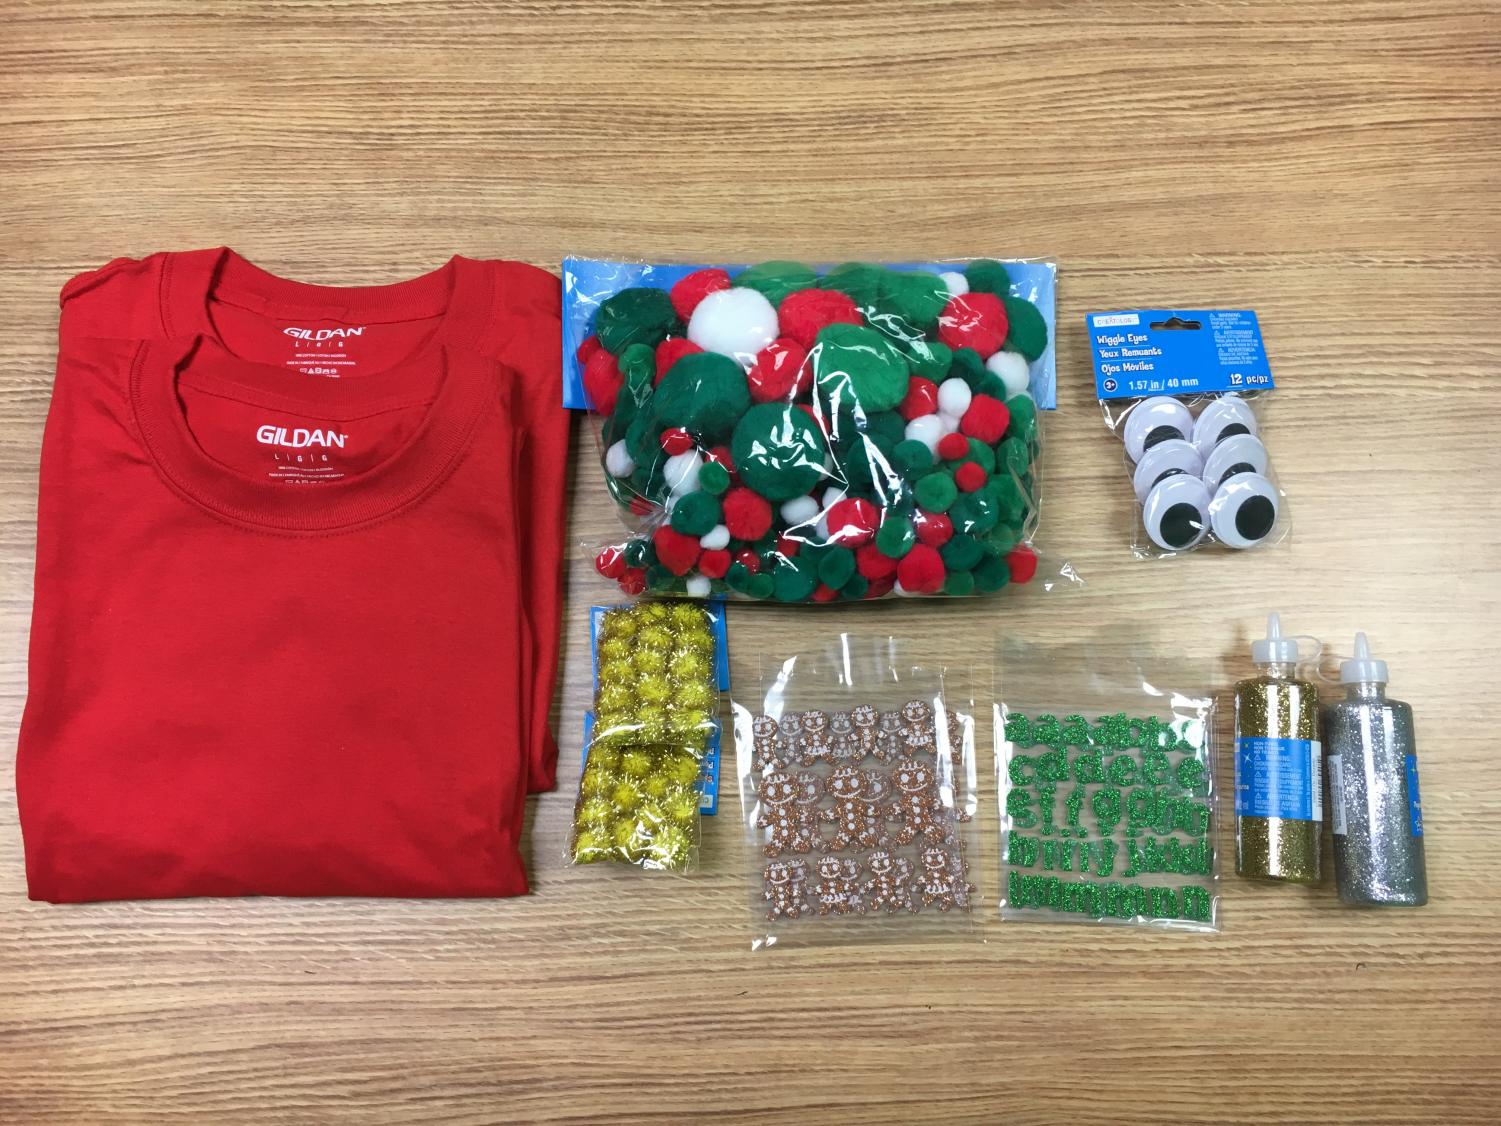
Step one: Gather your supplies!
The wonderful Mrs. Crispin got us red t-shirts, glitter glue, green red and white puff balls, letter stickers, gingerbread stickers, and googly eyes, but feel free to use anything that sparks festivity and creativity in you!
Step two: set up a crafty space!
Any table will do. Make sure there is room to lay out your supplies and work!
Step three: set a time limit
In the spirit of competition, add some pressure with a time limit! Ours was thirty minutes (including cleanup and technical dilemmas).
Step four: set criteria
To make a fair competition, set certain criteria for the judges to follow. Our shirts were judged on festivity, creativity, and artistic ability.
Step five: Plan out your design!
You don’t want to start glueing without an idea, so lay your design down before you start glueing so there is room for change!
Step six: Get your supplies!
Make sure you hog all the big green puff balls before you grubby-handed competition can try to steal them from you. To save time, open all the packages beforehand. We did not do this.
Step seven: Consider stealing
Maybe your grubby-handed competition managed to grab the glitter glue before you could… Steal it! Some crimes are justifiable.
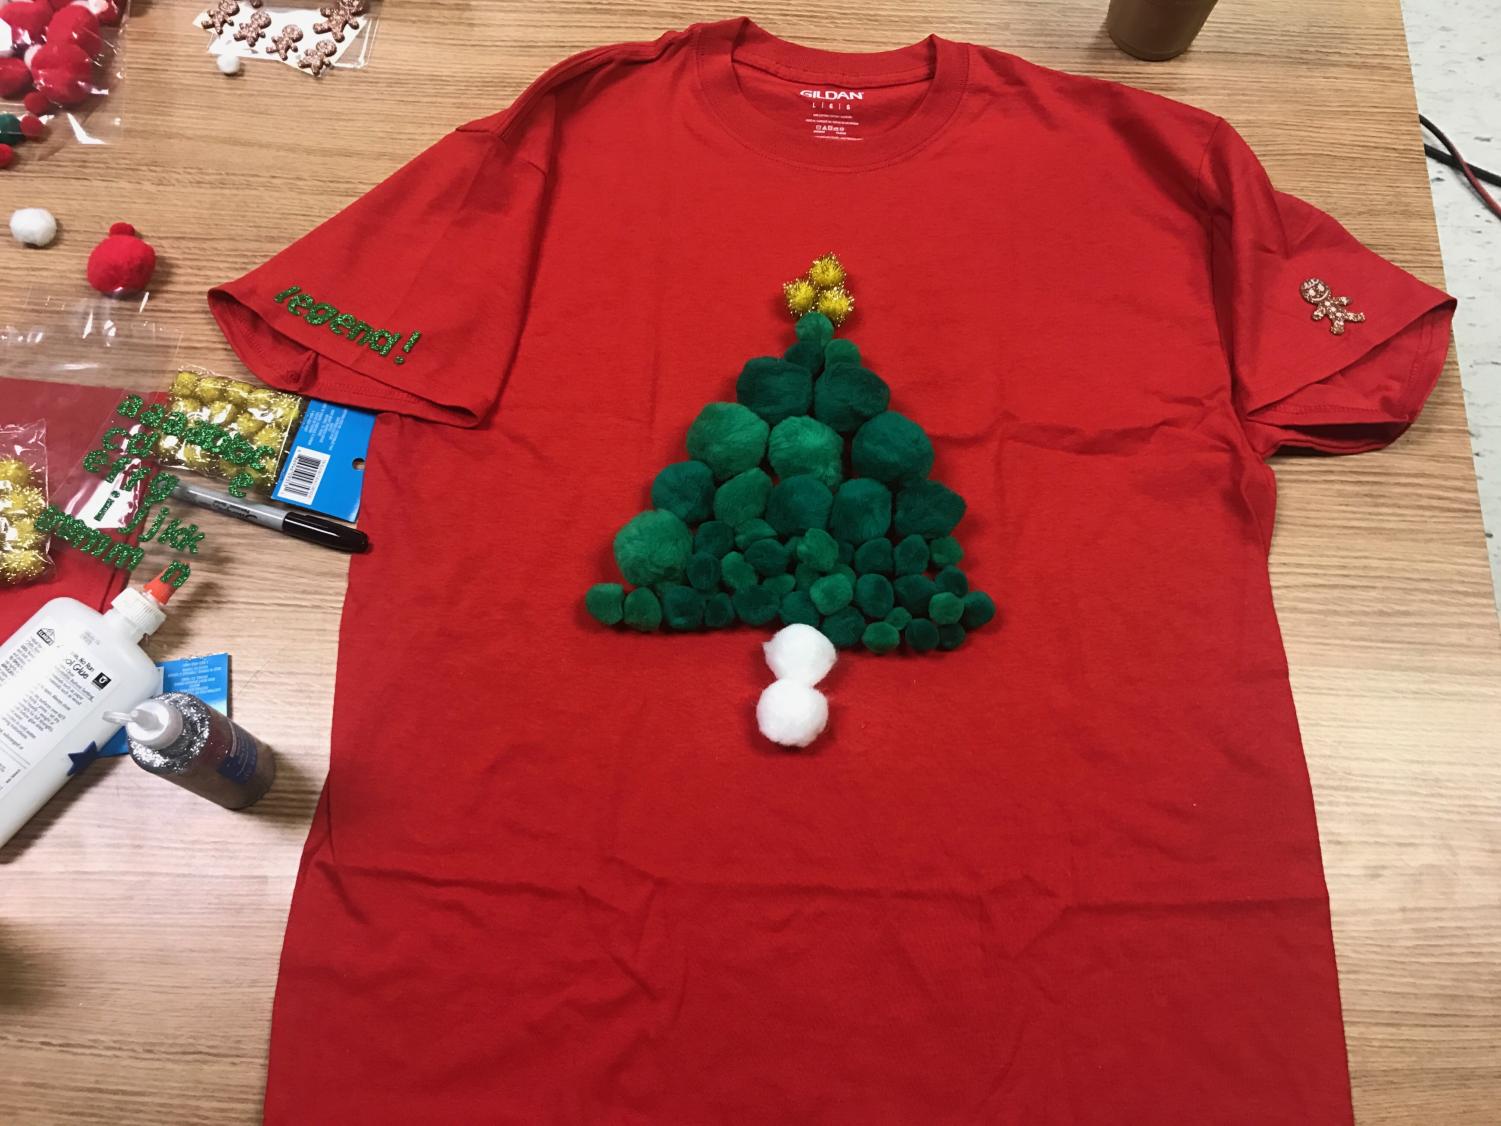
Step eight: Draw out your design!
Make sure you like where your shirt is going before you really get started. Once you start glueing, you can’t change your mind. Unless you’re Valerija, in which case, you just start glueing and see what happens. Here’s a progress picture of our shirts!
Step nine: glue down your design!
You may run into some issues here (glitter glue is difficult to open). But have fun and don’t let it ruin your festiveness!
Step ten: take a break!
You’ve obviously been working really hard. Take a breather and stop the clock for some hot cocoa. We did not do this, instead, we powered through and it was intense.
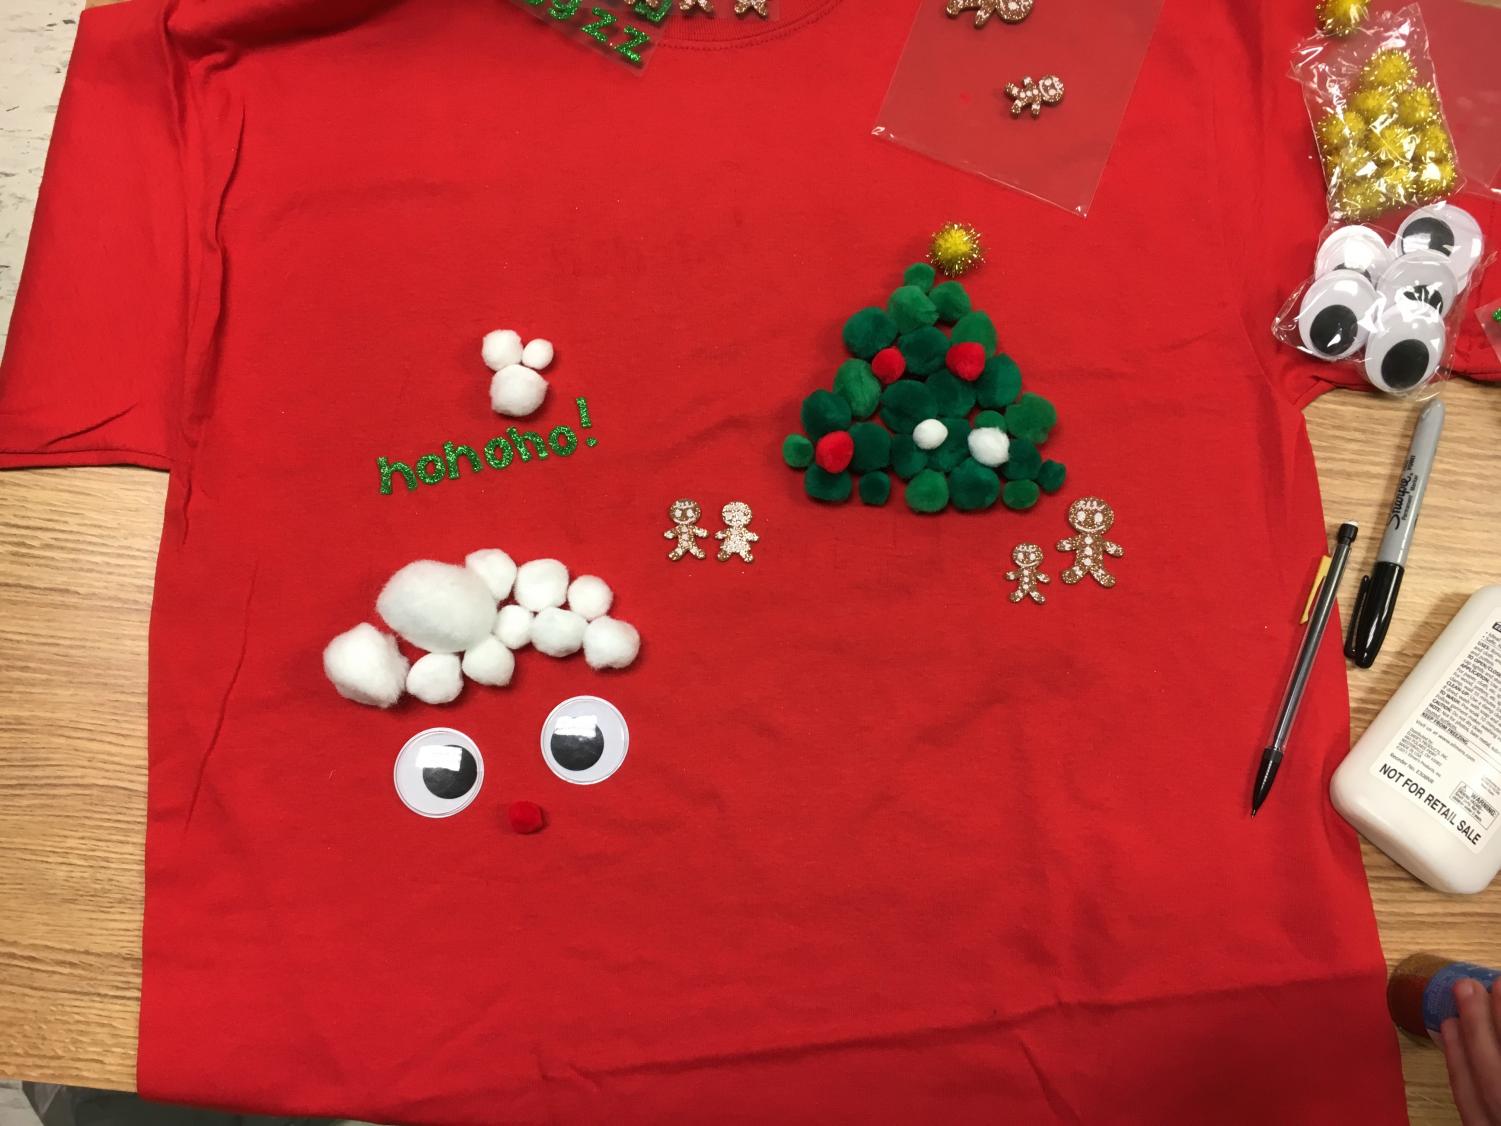
Step eleven: Finish!
Times up! Complete your details and bring in your judge to determine a winner! Here is Valerija and Jessica’s finished products.
Jessica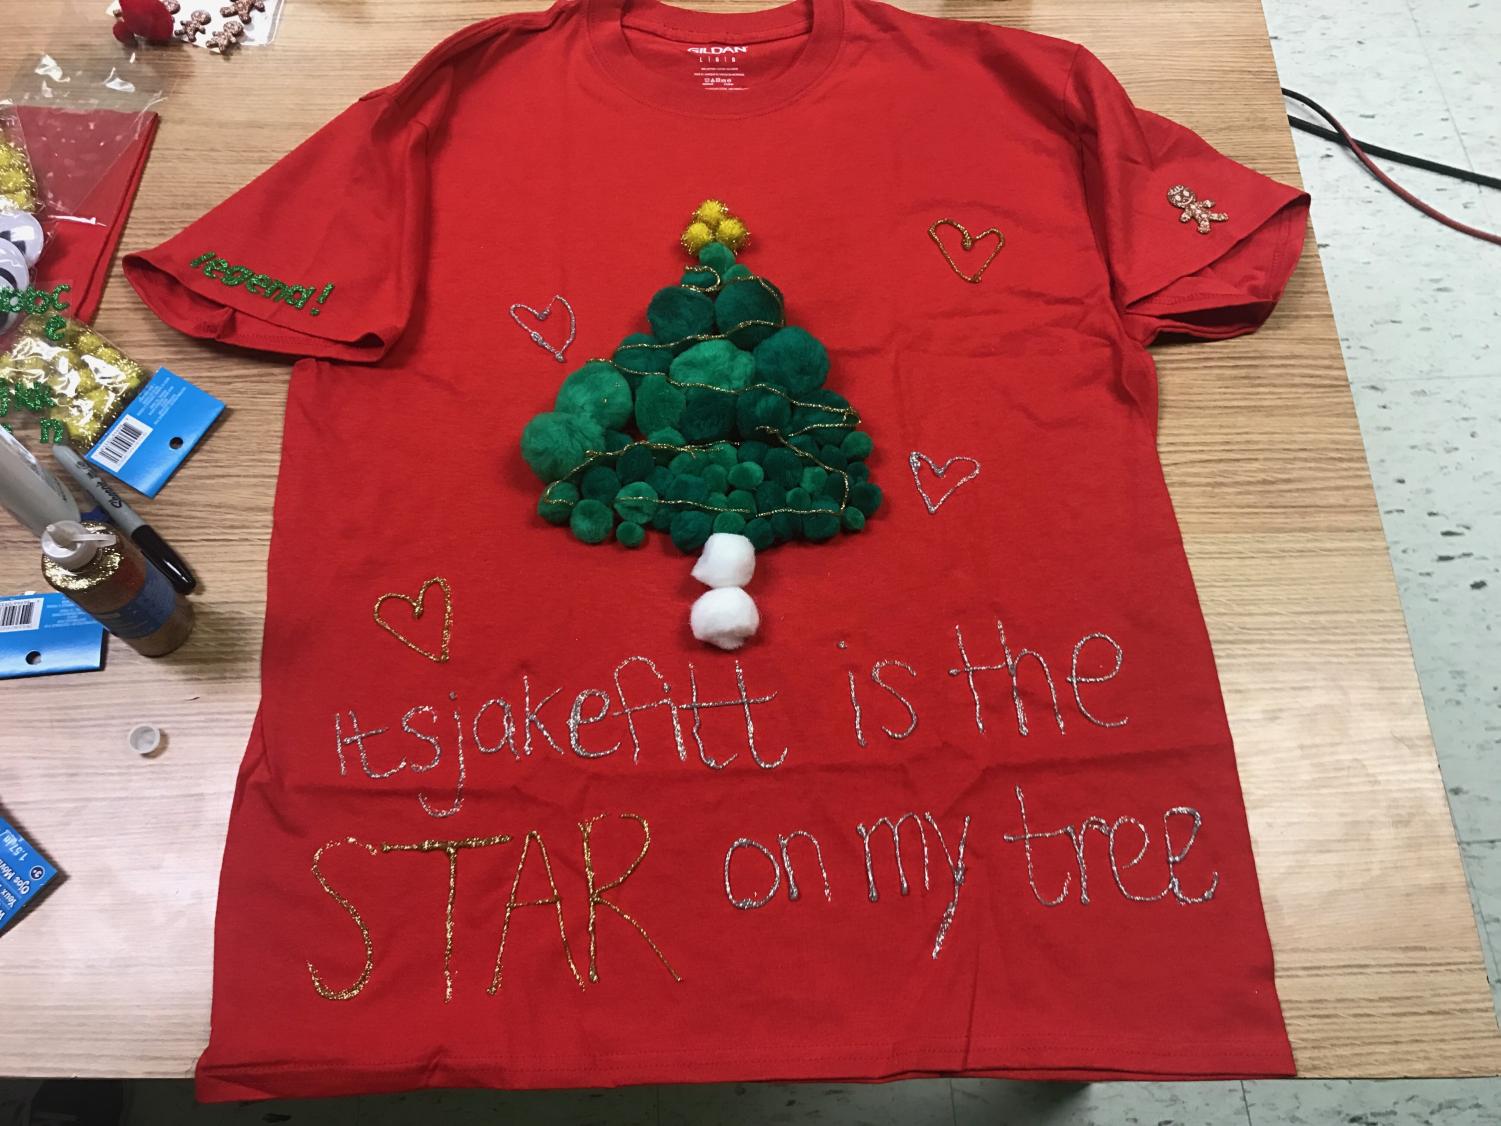
Valerija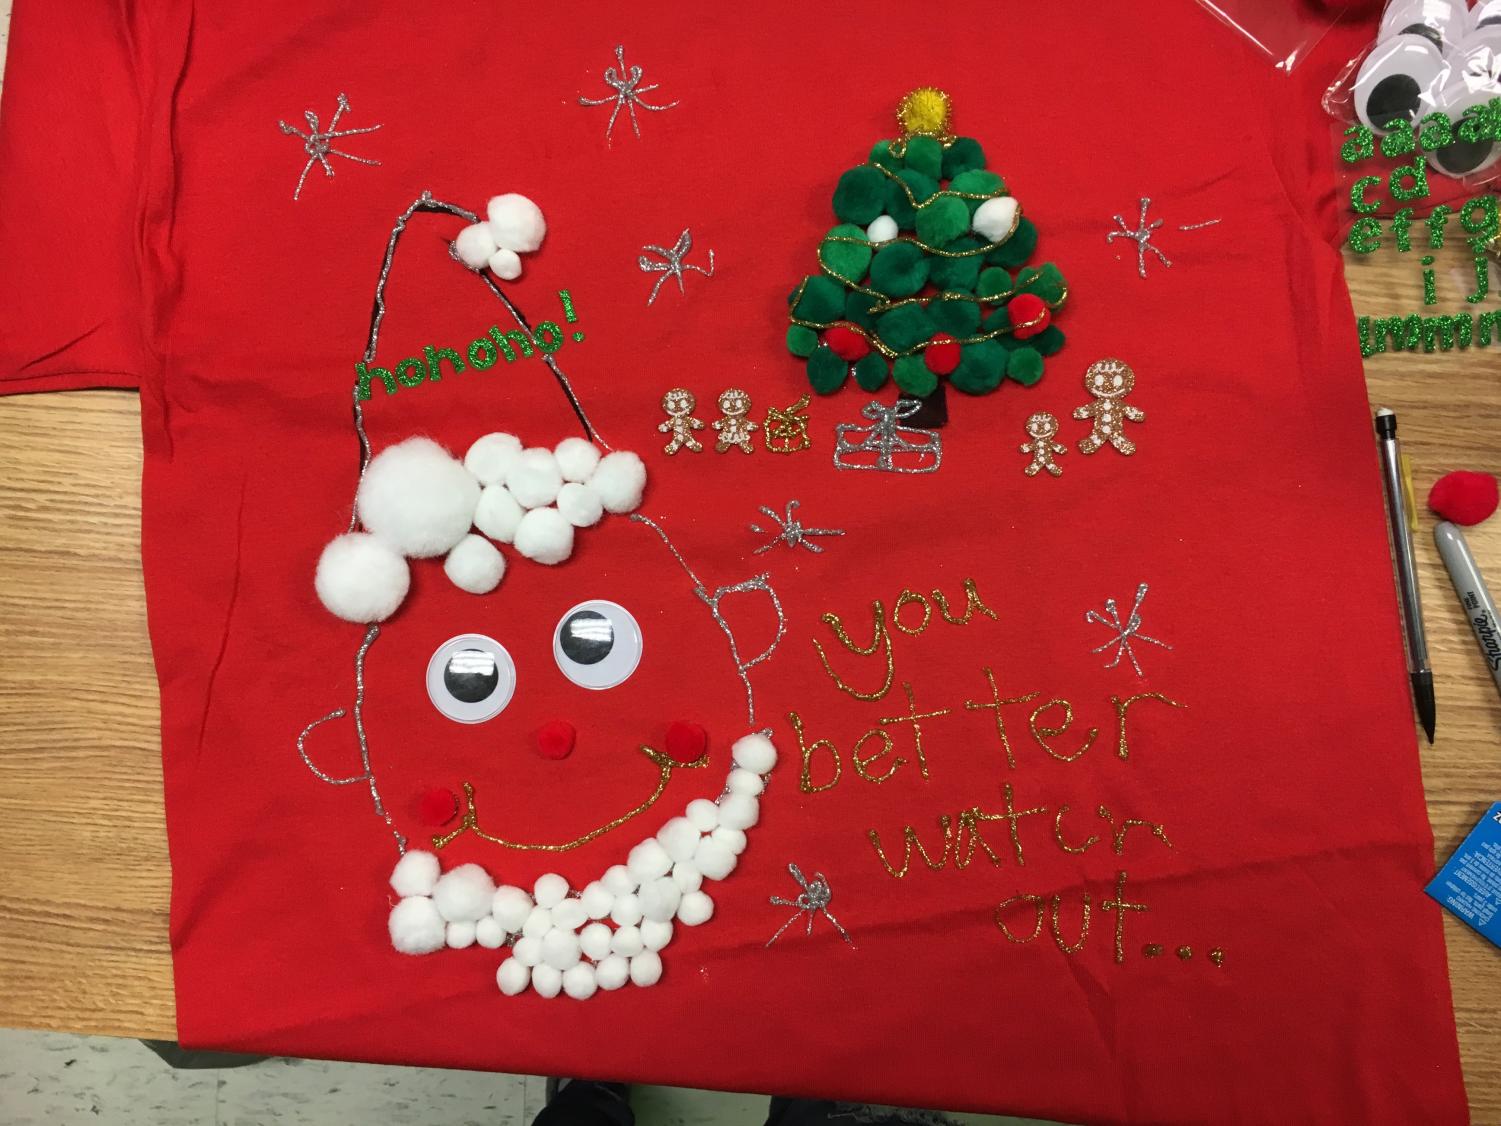
Our winner is… VALERIJA!
- What now?
Burn your shirt! Wear it! Watch our video while you finish your hot cocoa! Here you’ll see our documented process. Feel free to laugh at us, we won’t be offended.


Julir Foscon • Dec 18, 2017 at 8:13 am
I liked the part where it said itsjakefitt is the star on my tree <3